A kitchen works best when the counter and floor are planned as one visual and practical system, not chosen as unrelated samples. By the end, you will have a measurement brief, a quantity estimate, a surface-comparison checklist and an inspection plan for selecting slabs, finishes and installation details with a granite slabs dealer.
Key takeaways
- Let bold granite lead; pair it with a quieter floor.
- Add 10% to measured material quantities for cutting and breakage.
- Compare slab thickness, finish, veining, stains and maintenance before choosing.
- Inspect every slab, tile batch, edge and threshold before installation.
Should the Counter and Floor Match, Coordinate or Contrast?
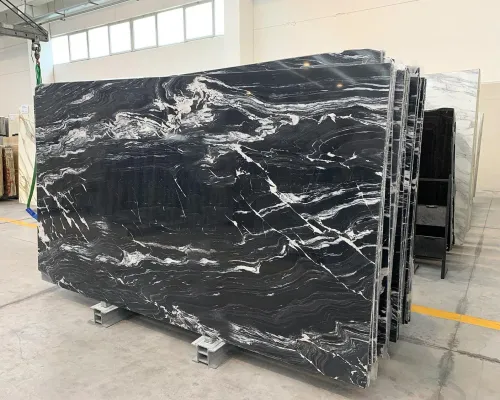
A kitchen counter and flooring look intentional when one surface leads and the other supports it. Choose a granite kitchen counter with a quieter floor if the slab has bold veining; use a restrained counter when the floor already carries strong colour or movement.
| Option | What it means | When it works best |
|---|---|---|
| Match | Similar stone, colour and movement | A small kitchen where continuity makes the room feel larger |
| Coordinate | Different materials sharing a colour, undertone or finish | Most kitchens, especially when you want visual balance without a showroom-like effect |
| Contrast | Deliberately opposing light and dark tones or patterns | Open-plan kitchens where the counter needs a clear focal point |
Use granite flooring or another textured floor finish if the kitchen has wet entrances, sloping areas or frequent outdoor footwear. A polished floor can lose traction when wet; honed, brushed or flamed finishes improve grip but collect and display dirt differently. Do not select matching stone surfaces based on colour alone.
Plan maintenance into the pairing. Clean natural stone with a neutral-pH stone cleaner or mild soap and water; abrasive powders, acidic descalers and bleach-heavy bathroom cleaners can dull surfaces or damage carbonate stones. A product safe for granite is not automatically safe for marble or Kota.
Treat the counter seam as part of the design. Place it away from the sink or hob, match adjoining slabs and agree on joint colour before fabrication. Strong veining makes seams more visible, so contrast can look deliberate only when the slab layout and floor pattern are controlled.
How Much Granite, Flooring and Backsplash Material Should You Order?
Do not order from room area alone: granite slab quantity depends on slab size, countertop layout, seam positions and the pieces lost to sink and hob cut-outs.
1. Measure each counter run from wall to wall, including corner returns, and record depth, thickness, finished edge profile and overhang. Note the sink type, sink cut-out dimensions, hob cut-out dimensions, tap holes, seams and any support needed for a breakfast-bar projection.
2. Add the usable areas of all counter pieces, then compare that layout with the dealer’s actual slab dimensions. A slab with enough square metres can still fail if the runs do not fit without an unwanted seam.
Include a cutting allowance, and ask the fabricator to mark the proposed layout on the selected slabs before approval.
3. For flooring, measure each room’s length and width separately. Your flooring area calculation is length × width for each space, added together, then increased by about 10% for cuts and breakage; use a higher allowance for diagonal layouts, many corners or small pieces. Measure skirting, thresholds, stairs and adjoining landings separately.
4. For backsplash measurement, record every run’s length and finished height, then subtract openings only when the fabricator confirms the deduction. Add allowance for corner cuts and keep the height consistent around windows, sockets and cabinets.
Give the dealer a dimensioned sketch with wall lengths, appliance positions, access constraints and photos. Confirm the actual slab batch and reserve matching slabs, because shade, veining, pits and mineral patches can change between pieces.
Which Counter Slab Gives You the Best Balance of Durability and Appearance?
Approve the actual slabs, not a showroom sample, after comparing performance, fabrication risk and appearance together. A granite slab inspection should record thickness, background colour, mineral patches, vein direction, finish consistency, granite fissures and pitting, and which slabs will be installed beside one another.
| Check | What to compare | Why it matters |
|---|---|---|
| Water absorption | Measured water absorption, density and strength; ask for ASTM C97/C97M results or a laboratory report | Higher absorption can increase staining and sealing demands, but these figures do not predict every countertop failure |
| Surface condition | Open pits, hairline fissures, repaired areas and polishing marks | Pits collect food and fissures become vulnerable during cutting or handling |
| Thickness and finish | Actual thickness, polished or honed finish, edge quality and colour stability | Thin stone and a weak edge are less forgiving around corners and daily impacts |
| Fabrication layout | Seam positions, overhangs, sink and hob openings | Stress concentrates at cut-outs and unsupported projections |
For a sink cut-out granite countertop, require the fabricator to template the actual sink and hob. Specify radiused inside corners, continuous support and adequate stone width around each opening; tight corners and narrow strips crack more easily.
Place seams away from the sink and hob where possible, and agree on joint colour before cutting. A long breakfast-bar overhang needs brackets, corbels or a steel frame based on its depth, thickness and cabinet layout. Approve the slab only after these details are marked on its face.
Which Floor Material and Finish Fits a Kitchen, Entrance or Threshold?
Choose a honed or flamed granite flooring finish for wet kitchen entrances and thresholds when you want stronger grip, then compare the added installation work against porcelain tile’s easier cutting and replacement.
| Option | Grip and marks | Maintenance and installation |
|---|---|---|
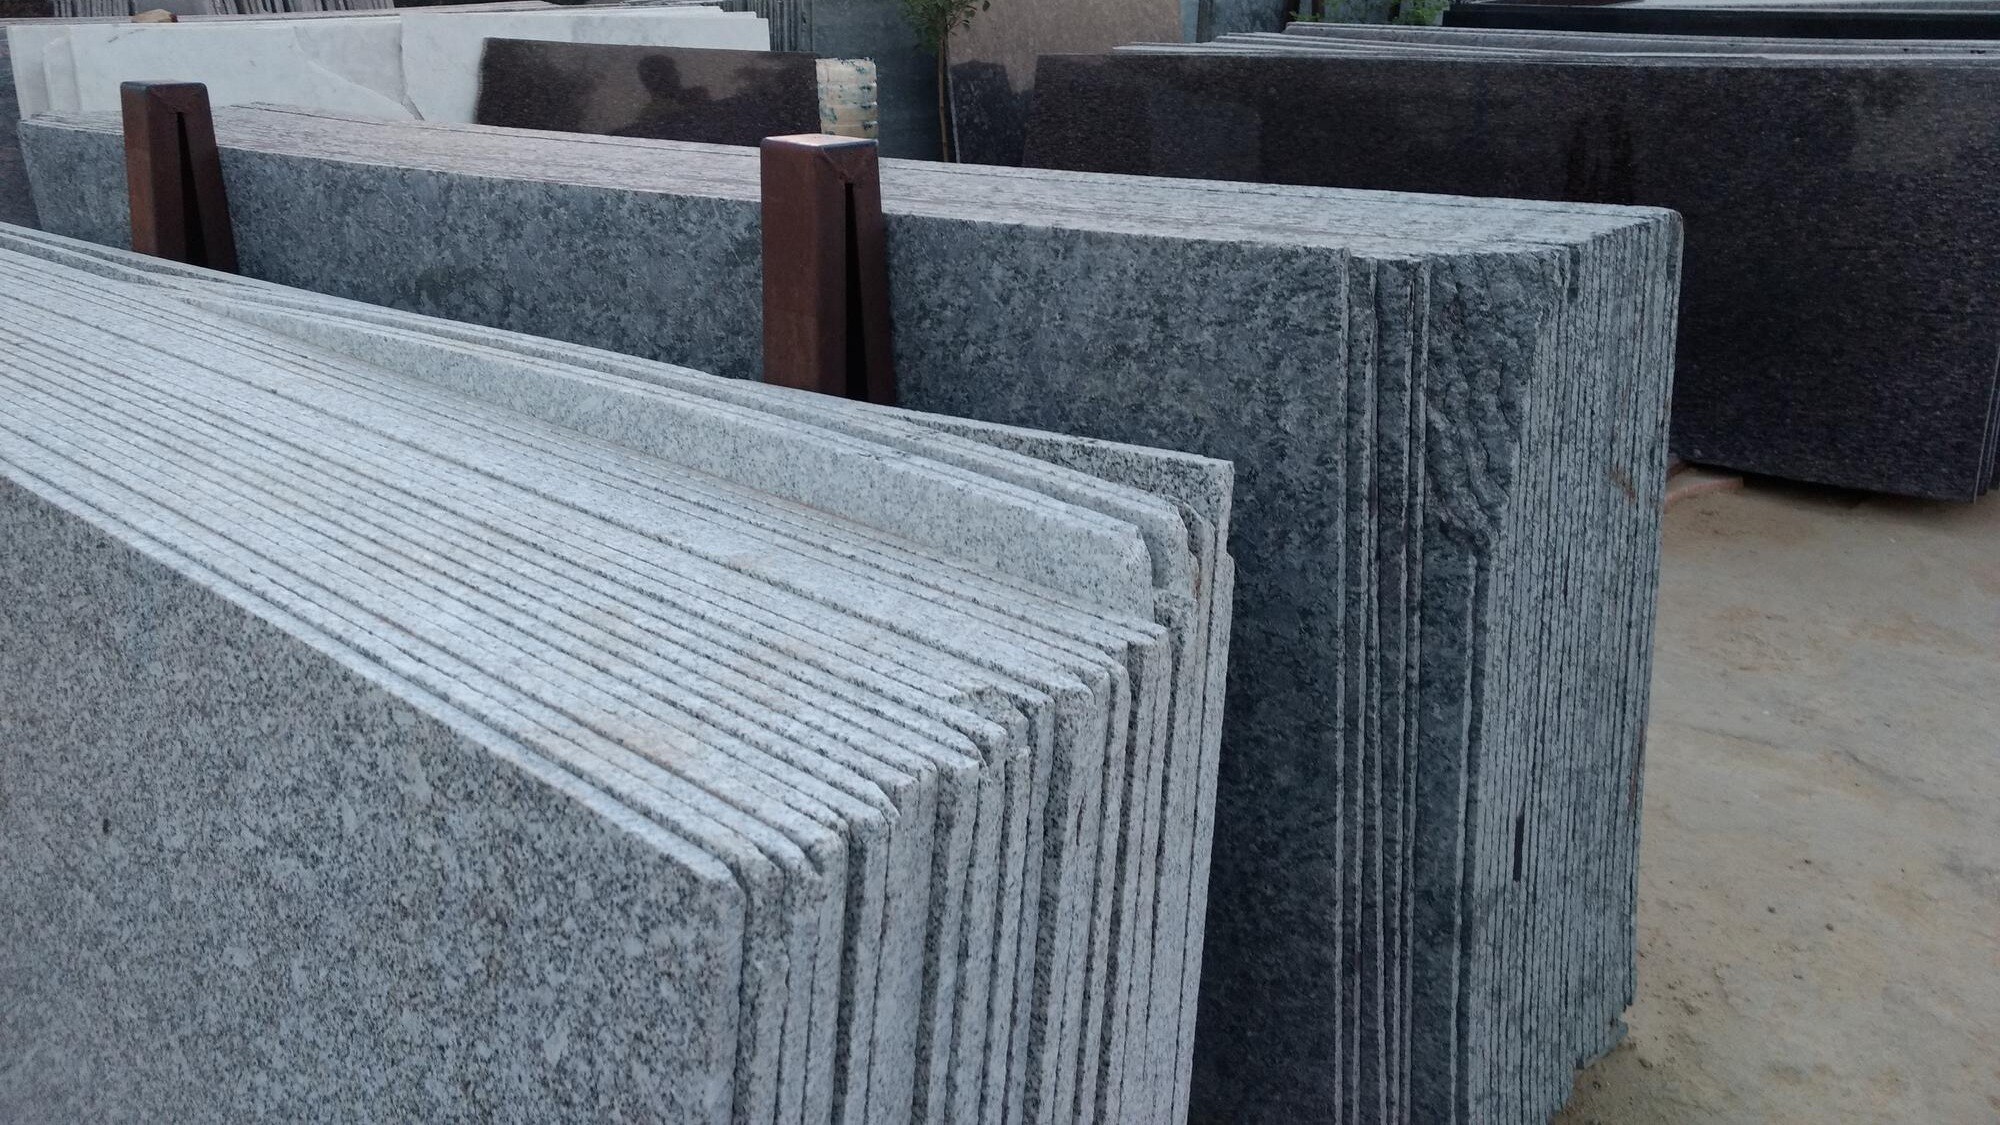
| Granite flooring | Honed, flamed or brushed surfaces grip better than polished stone; dark or patterned slabs hide marks. | Use a neutral-pH stone cleaner; provide full bedding, movement joints and a flat screed. Seal if specified for the stone. |
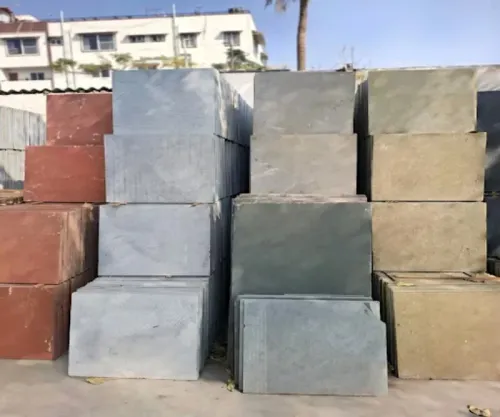
| Kota stone flooring | Textured, clefted surfaces offer useful traction; green, blue, brown or grey variation and mineral marks remain visible. | Usually needs less decorative finishing but requires careful levelling, filling and sealing decisions. Do not use acidic cleaners. |
| Marble flooring | Polished marble is slippery when wet and quickly shows dull acid etching from lemon, vinegar, tomato or wine. | Demands prompt cleaning and stone-safe products; installation needs full support and accurately matched joints. |
| Porcelain tile versus granite flooring | Porcelain offers consistent grip ratings, low water absorption and predictable patterns; chipped edges can be conspicuous. | It is usually quicker to cut and replace, while granite needs heavier handling, skilled bedding and more attention to substrate movement. |
| Engineered quartz | A polished surface can be slick, and plain colours reveal scuffs; confirm the manufacturer permits floor use. | Follow the product’s cleaning and installation system rather than treating it like natural stone. |
For a threshold, prioritise slip resistance over shine and avoid a polished finish on a slope or wet entry. Ask for measured water absorption, density and strength data; ASTM C97/C97M reports help compare natural stones but cannot replace an inspection of the actual floor system.
A broken or hollow-sounding tile often points to poor bedding, not weak stone.
What Should You Check at the Dealer and Before Installation?
Approve the actual slabs, not a small showroom sample. Use a stone slab daylight inspection to check background colour, veining direction, mineral patches, open pits, fissures and shade variation. Photograph each slab and record its identification mark before it leaves the yard.
Ask Nakoda Marble or another granite slabs dealer to show which slabs will be used together. Confirm slab batch matching, thickness and finish, then mark the planned sink, hob, backsplash and seam positions on a layout before cutting.
1. Place countertop seams away from the sink and hob where possible. Agree on joint colour and countertop seam placement in writing; bold veins and strong colour contrast make joints more visible.
2. Give the fabricator the actual sink and hob, or their precise templates. Specify radiused inside corners, sufficient stone width around each opening and continuous support; tight corners and narrow strips crack more easily.
3. Check every overhang against a support plan. A long breakfast bar needs brackets, corbels or a steel frame designed for the stone thickness, projection and cabinet layout.
4. Before laying floor stone, inspect the screed or slab for cracks, hollows, dirt and excessive unevenness. Require full bedding, planned movement joints and grout joints wide enough for dimensional variation; hollow bedding leads to cracked or debonded pieces.
Keep spare pieces from the same batch for future repairs. Clean installed stone with neutral-pH stone cleaner or mild soap and water, not acidic descalers, abrasive powders or bleach-heavy bathroom products.
Related product
 | Granite Granite Nakoda Marble is a leading granite supplier in Bangalore, offering premium-quality natural granite for residential, commercial, and industrial... |
Frequently asked questions
Should a kitchen counter and floor match, coordinate or contrast?
Coordinate them by giving one surface visual priority. Pair a boldly veined granite counter with a quieter floor, or use a restrained counter when the floor has strong colour or movement.
How much granite, flooring and backsplash material should you order?
Measure each area separately, account for cut-outs and layout, and add a waste allowance for cuts, breakage and future repairs. Keep the batch and lot details for matching replacements.
Which granite counter slab balances durability and appearance?
Compare the slab’s colour, veining, thickness, finish, edge profile, stain visibility and maintenance needs. Choose a pattern that suits your lighting and hides everyday marks without sacrificing the look you want.
Which floor material and finish fits a kitchen, entrance or threshold?
Choose a floor with a practical finish for the traffic and moisture it will receive. Check slip resistance, cleaning needs, thickness, transition height and whether the entrance or threshold creates a trip edge.
What should you check at the dealer and before installation?
Inspect the full slab or tile batch for cracks, pits, shade variation and warping. Confirm dimensions, thickness, finish, quantity, cut-outs, edge details and installation measurements before fabrication begins.