Yellow marble can make a room feel brighter and more intimate, but “yellow” covers stones with very different backgrounds, veining, finishes and maintenance needs. By defining the visual effect first and then checking full slabs, performance, installation conditions and total cost, you can approve a stone that looks warm in the finished room rather than only under showroom lights.
Key takeaways
- Define pale cream, honey yellow or golden marble before visiting.
- Compare samples under your room’s actual daylight and artificial lighting.
- Inspect full slabs to assess veining, movement and colour variation.
- Confirm finish, application, installation method and total installed cost.
Define the yellow-marble look before you visit the showroom
Turn a general preference for warm interiors into a written stone specification before you enter the showroom. Decide whether you want a pale cream background, honey yellow, or saturated golden marble; then define the amount of veining, movement and grain contrast you will accept.
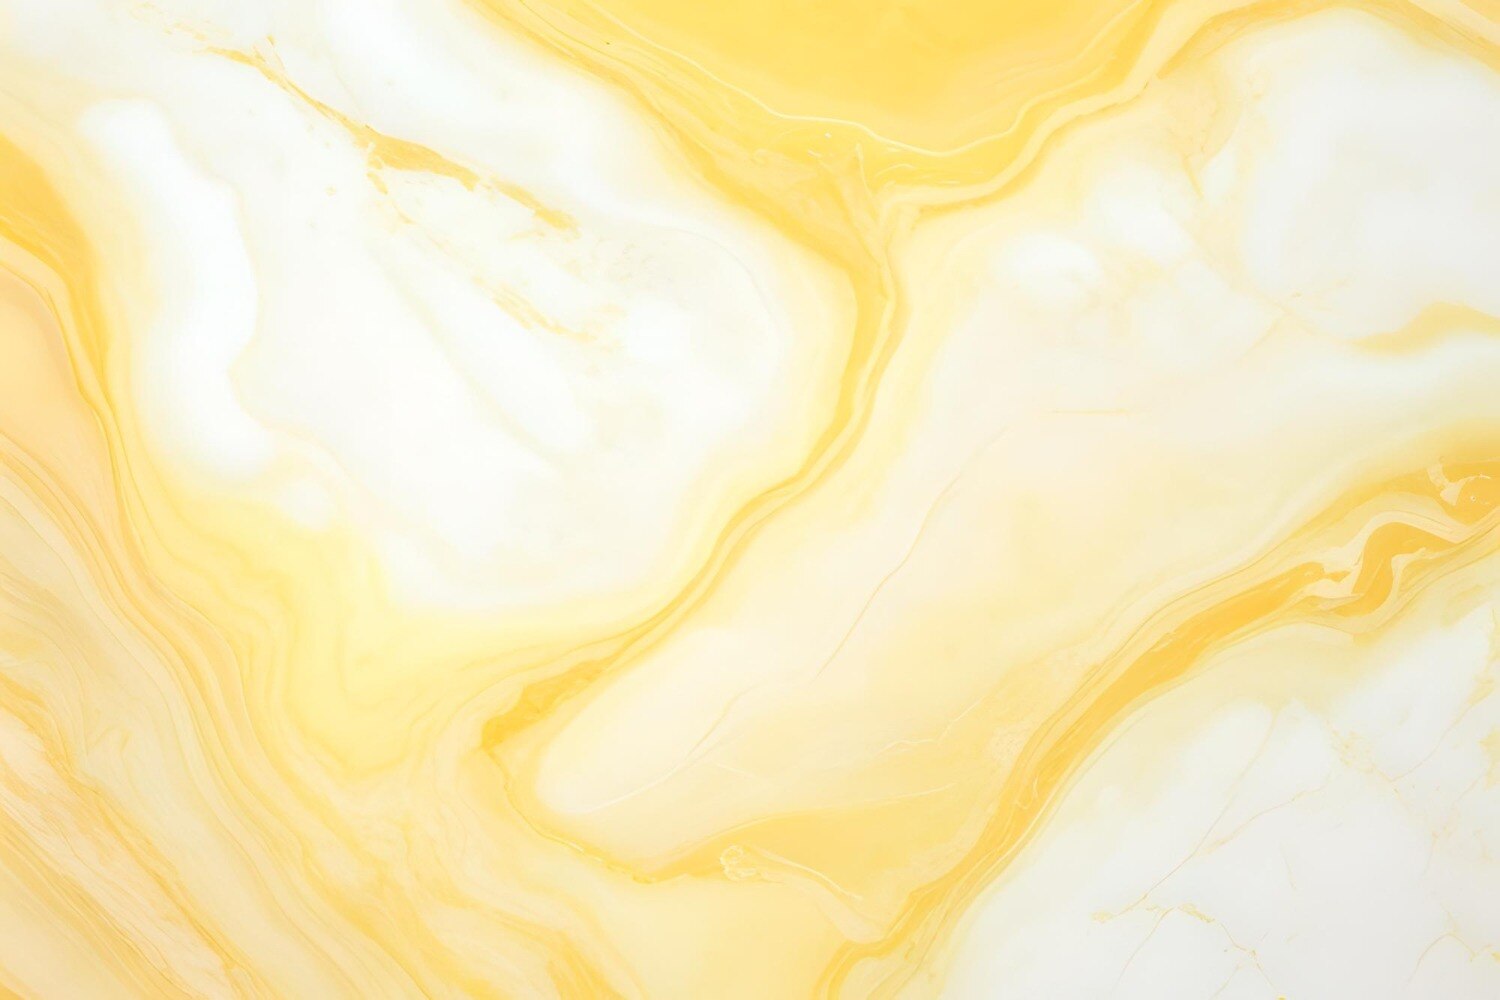
Yellow marble colours can make a room feel brighter and more expansive, while strong movement creates a dramatic, closer visual scale.
- Base colour: choose cream, beige, honey or deep gold, and bring a wall-paint or cabinet sample for comparison.
- Pattern: specify quiet, fine veining or bold flowing movement; state whether brown, white or grey veins are acceptable.
- Variation: decide whether each slab may differ in shade and pattern, or whether you need a closely matched installation.
- Finish: choose polished for stronger saturation and reflection, or honed, brushed or leathered for a softer appearance.
- Stone identity: ask for the stone type and quarry, because “yellow marble” can describe true marble, Jaisalmer limestone, granite or quartzite.
- Application: record where it will go—floor, wall, staircase, kitchen or vanity—so the specification accounts for wear and acidic spills.
For cream marble interiors, write down your acceptable background shade, vein direction and maximum visible fissures before selecting a slab. If you want backlighting, add the required thickness and lighting distance; edge translucency alone does not prove even illumination.
Compare the stone type and colour under your actual lighting
A slab is suitable only after you view it in the room’s daylight and under the exact LED colour temperature planned for the project. Showroom spotlights can make a cream surface look honey-gold, while cool LEDs can flatten the warmth or push yellow toward beige.
| Stone type | How it may read in a room | What to verify |
|---|---|---|
| True marble | Cream, honey or golden, with veining and softer colour movement | Stone name, quarry, finish and whether adjacent slabs share the same base tone |
| Jaisalmer stone | Strong yellow to warm beige, often with natural variation | That it is yellow limestone, not marble, plus moisture response and acceptable fossil or grain variation |
| Yellow limestone | Matte, earthy and subdued compared with polished marble | Absorption, wet darkening, substrate moisture and sealer compatibility |
| Warm-toned granite or quartzite | Yellow-brown, denser-looking and more granular | Actual stone type, grain scale and whether the texture suits nearby surfaces |
Make the marble slab comparison beside your wall paint, cabinetry, flooring and grout sample. Check it from the doorway and from the seating height; a strong yellow can dominate a small room, while a pale cream can lose presence in shadow.
Ask for a sample or slab viewed in morning daylight, evening lighting and the proposed LED setting. If you want a backlit feature, test the exact slab thickness and light distance: edge translucency does not prove even illumination across the surface. Reject any colour decision made from a small tile alone.
Inspect full slabs and plan for natural variation
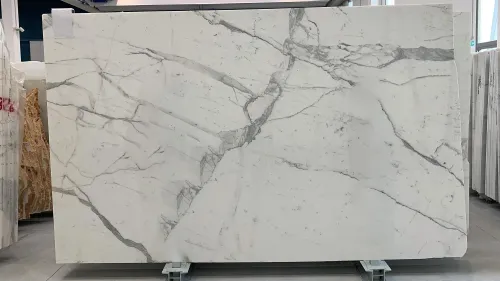
Approve yellow stone only after a full slab inspection. A small sample can conceal changes in background tone, clouding, fossil content and vein intensity, leaving a floor or feature wall far more dramatic—or patchy—than expected.
1. View every slab in the proposed installation order. Record the background colour, vein direction, fissures, filled cavities, resin patches and stains. Check the face in daylight and under the room’s actual artificial lighting; marble shade variation can become more noticeable after adjacent pieces are installed.
2. Dry-lay the slabs or tiles before fixing them. Distribute lighter, darker and more heavily veined pieces across the room instead of installing boxes sequentially, which can create abrupt colour bands in an open-plan floor. Approve a full-size mock-up if the area is large or visually prominent.
3. Draw the layout before fabrication if you want vein matching or bookmatching marble. Consecutive slabs with compatible patterns are necessary, while cutting can increase waste and make seams prominent when slabs come from different blocks or lots.
4. Treat any backlit proposal as a separate test. Ask to see the exact slab at its specified thickness, with the planned light distance; cracks, mesh backing, resin and mineral content can prevent even illumination.
5. Check the substrate before installation. Wet yellow marble or limestone can darken over fresh screed, so verify moisture, allow curing and test adhesive and sealer compatibility on an offcut.
Match the finish and application to real maintenance demands
Yellow marble performs best on low-traffic walls, fireplace surrounds, vanity fronts, bedside tables and carefully protected living-room floors. Kitchen worktops, shower floors, staircases and entrance floors face acids, standing water, grit and abrasion, so the stone type and finish need closer checking.
| Finish | Suitable use | Maintenance consequence |
|---|---|---|
| Polished yellow marble | Walls, vanities and formal low-traffic floors | Gives deeper colour and easy wiping, but highlights fine scratches, traffic lanes, water marks and etching from lemon juice or vinegar |
| Honed marble | Living areas, floors and frequently used surfaces | Reduces glare and disguises small scratches; still etches, so acidic spills need prompt cleaning |
| Leathered, brushed or other textured stone finish | Floors where grip matters, feature walls and rustic schemes | Improves visual softness and wet-foot traction, but textured pores collect dust and take longer to mop |
Honed marble is usually the most forgiving finish for a lived-in floor because it does not make every scuff look bright and sharp. It does not stop chemical etching: yellow marble maintenance still requires prompt removal of citrus, vinegar, acidic food residue and some toilet cleaners.
A penetrating sealer cannot prevent etching because etching changes the surface itself.
Approve the finish on the actual slab, not a catalogue image. Check the stone’s slip behaviour for wet areas, and ask the installer to confirm screed moisture, curing and adhesive compatibility; yellow limestone and marble can darken temporarily over damp substrates.
A textured stone finish is the wrong choice if frequent, effortless mopping matters more than extra grip.
Use the dealer to verify the specification, installation and installed cost
A yellow marble dealer should turn your preferred slab into a written scope, not just quote a rate per square foot. Before ordering, settle these decisions:
1. Confirm the material’s identity, quarry and batch. “Yellow marble” can mean true marble, Jaisalmer limestone, granite or quartzite. The stone type affects porosity, hardness, maintenance and suitable applications.
2. Match the stone to the use zone. Ask whether the selected slab suits an entrance floor, staircase, kitchen worktop, shower floor, wall or bedside table. A finish that works on a low-traffic wall can become slippery, scratched or stained in a busy area.
3. Approve the marble installation method. The installer should check substrate moisture, allow a fresh screed to cure, and test the adhesive and stone sealer on a small area. Yellow stone can darken temporarily over damp substrates or in poorly ventilated rooms.
4. Demand an itemised marble quotation. It should separate stone, freight, cutting, edge profiles, adhesive or mortar, wastage, installation, sealing and GST. Add extra allowance for bookmatching, curved cuts or patterned layouts; a stone rate alone hides the installed cost.
5. If you want backlighting, require a demonstration using the exact slab, thickness and light distance. Edge translucency does not prove even illumination across a wall.
Whether you consult Nakoda Marble or another supplier, ask for the sealer name, curing time, reapplication interval and spill-test results before signing. A penetrating sealer slows absorption; it does not make yellow marble stain-proof, scratch-proof or acid-proof.
Related product
 | Marble Marble Nakoda Marble is a trusted supplier of high-quality natural marble in Bangalore, offering a wide range of premium marble stones for residential,... |
Frequently asked questions
How should you define the yellow-marble look before visiting a showroom?
Choose a base colour such as pale cream, honey yellow or saturated gold, then set limits for veining, movement and grain contrast.
Why should yellow marble be compared under actual room lighting?
Daylight and artificial light change how yellow, cream, veining and surface finish appear, so compare samples under the lighting used in your space.
Why inspect full slabs instead of choosing from a small sample?
Full slabs reveal natural variation, large-scale veining, movement and colour changes that small samples cannot show.
How do finish and application affect yellow-marble maintenance?
Match the finish to the location and traffic: floors, walls, kitchens and stairs face different risks from staining, scratching, moisture and wear.
What should a marble dealer verify before purchase?
Ask the dealer to confirm the stone specification, slab selection, dimensions, wastage, installation method and complete installed cost.