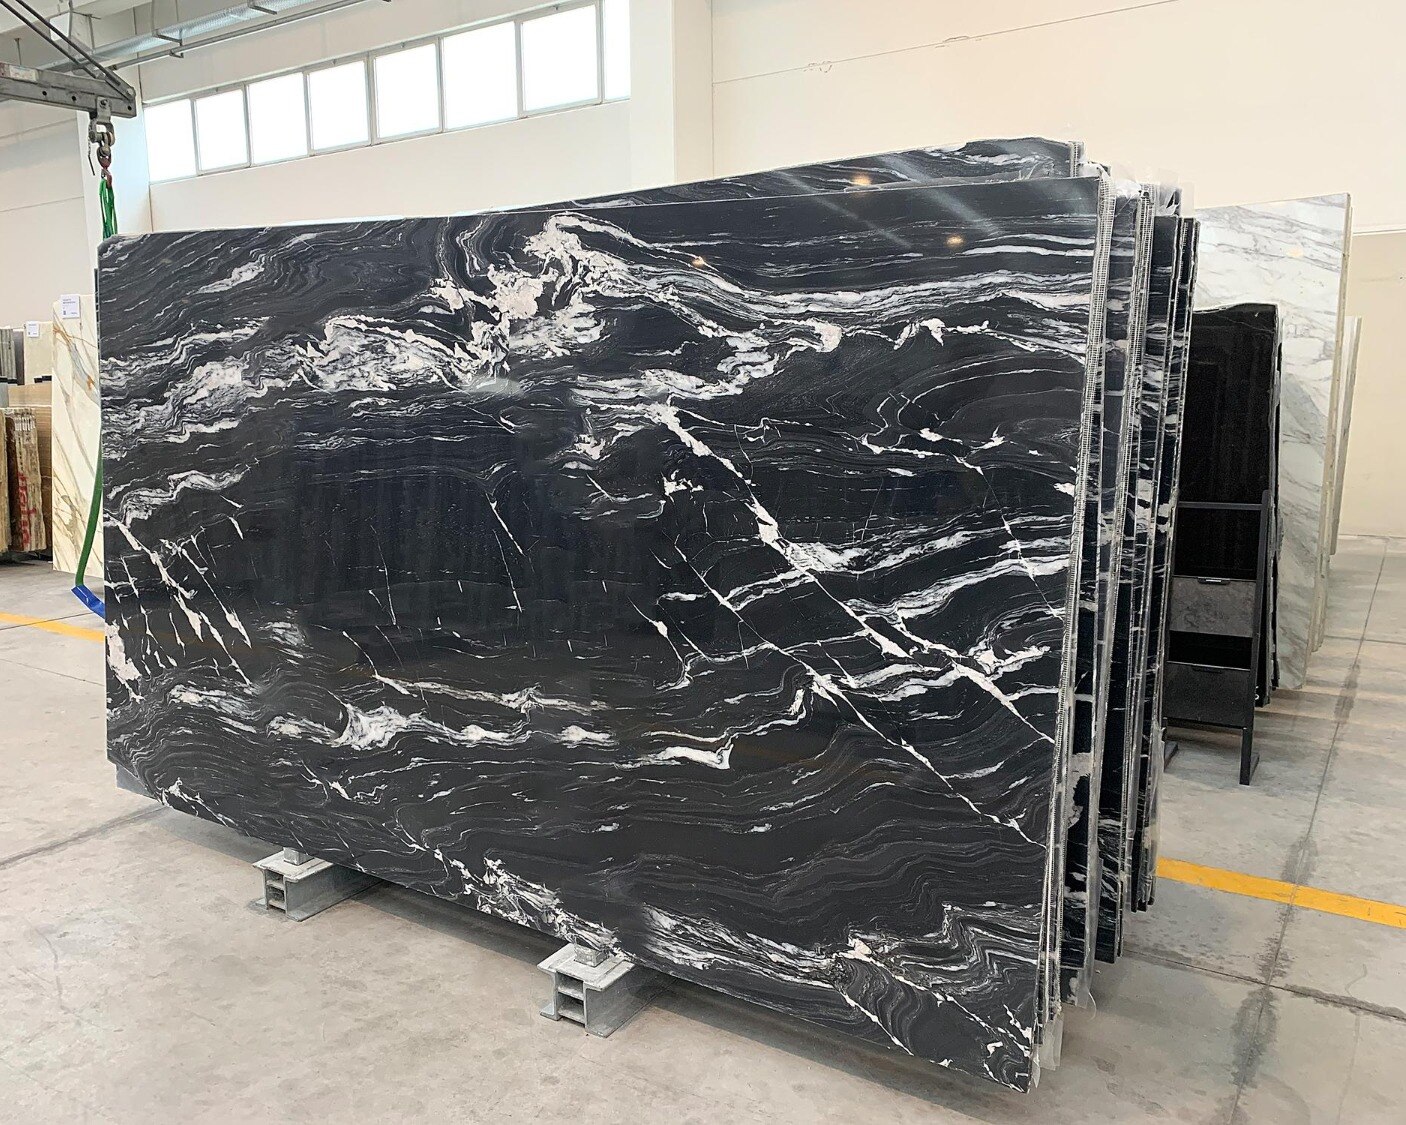
A 20 mm slab is not automatically suitable for every surface, and a polished sample does not reveal how marble will behave when wet, scratched or exposed to spills. By comparing the finished thickness, support conditions, site measurements and surface treatment, you can approve a slab and finish that fit the application rather than choosing by showroom appearance alone.
Key takeaways
- Match 20 mm or 30 mm thickness to support, span and impact.
- Confirm finished thickness after fabrication, not just the raw slab size.
- Calculate slabs from the cutting layout and include usable waste.
- Choose polished, honed or textured finishes for the surface’s actual conditions.
Match slab thickness to the surface and its support
Choose marble slab thickness by support, span and impact—not by appearance alone. A 20 mm marble slab suits many supported interior surfaces, while a 30 mm marble slab earns its extra weight where the design creates longer spans, exposed edges or repeated impact.
| Surface | Suitable starting thickness | Support and use |
|---|---|---|
| Flooring | 18–20 mm | Full, level substrate; use marble flooring thicknesses and applications appropriate to traffic and substrate quality |
| Wall cladding | 15–20 mm | Flat, sound backing with mechanical or adhesive fixing designed for the slab weight |
| Kitchen countertops | 20 mm or 30 mm | Continuous rigid cabinets; add engineered support at sinks, joints and overhangs |
| Vanity tops | 20 mm | Continuous cabinet or deck support; 30 mm suits a heavier visual edge |
| Stair treads | 20–30 mm | Solid, level stair base with supported nosing; choose 30 mm for exposed edges or demanding use |
| Risers and window sills | 15–20 mm | Full backing; use 20–30 mm for projecting sills |
| Furniture tops | 20–30 mm | Frame or panel support beneath the entire span |
A thinner slab can look thicker through a laminated edge build-up, but the added strip is decorative; it does not strengthen the slab like a solid 30 mm piece. Thickness adds real value when it reduces edge damage or spans a supported gap, not when the underlying cabinet or substrate is flexible.
Confirm whether the quoted dimension is nominal. Calibration and polishing can reduce it, and bevels change edge height, so measure several points before fixing cut-outs, appliance clearances or adjacent levels. A thicker slab also weighs more and costs more to transport and handle.
Check finished thickness before approving fabrication
A “20 mm” label describes nominal slab thickness, not a guaranteed finished dimension. Calibration grinds a slab to a more even gauge, while polishing and edge shaping remove additional material at selected surfaces. The finished marble thickness can therefore vary across the slab and differ from the catalogue figure.
1. Ask for the supplier’s permitted thickness variation and measure several points on the actual slab after calibration. Record the readings before finalising sink cut-outs, appliance clearances, cabinet levels or stone-to-stone joints.
2. Confirm whether you are receiving a calibrated marble slab. An uncalibrated slab can create uneven joints and require extra adhesive or substrate adjustment; calibration improves consistency but does not make every point identical.
3. Approve a representative edge sample, not only a polished surface sample. A polished top paired with a honed, rounded or leathered edge can look like a colour mismatch under changing light.
4. Check whether a thinner slab uses a laminated edge build-up. The added strip creates a thicker visual profile, but it does not turn the slab into a genuinely thicker structural member.
5. Give the fabricator the measured finished thickness when checking support. A 20 mm countertop needs continuous support from a rigid, level cabinet or substrate; overhangs and long unsupported spans require designed steel or stone support, not merely a change to 30 mm.
Calculate slabs from the layout, not only the floor area
A 3 m by 2 m floor covers 6 m², but six square metres does not tell you how many slabs to buy. Slab length, width, column positions, door openings, grain direction and the location of joints control the usable area.
Take the marble slab measurement from the actual site, not only the architectural drawing. Record every room length and width, wall offsets, openings, alcoves, stair runs, countertop returns, sink cut-outs and minimum seam locations. Add the slab dimensions supplied by the fabricator, including any unusable edge.
- Mark each piece on a scaled marble cutting diagram, including slab identification, vein direction, finished edges, cut-outs and seams.
- Reserve extra material around sinks, hobs, outlets and narrow strips; small remnants rarely replace a damaged main piece.
- Separate visible face defects, resin-filled fissures, mesh-backed areas and natural patches from usable sections after inspecting the exact slabs in neutral light.
- Allow for offcuts caused by matching veins, aligning joints and rotating pieces; do not apply a generic waste percentage before this layout exists.
Bookmatched marble slabs require paired slabs with continuous, mirrored veining, so the second slab can add material even when its area appears unnecessary. Approve the cutting diagram and exact slab bundle before fabrication. The final marble quantity calculation should state whole slabs, intended seams, expected wastage and the replacement allowance agreed with the fabricator.
Choose a finish for traction, maintenance and the way marble looks
A dry showroom sample can hide the main risk: polished marble becomes slippery when wet. Request a wet sample or documented wet-slip test for floors, balconies, entrances, showers and stairs; choose a stone finish for wet areas by measured traction, not appearance alone.
| Finish | Appearance and traction | Best uses and drawbacks |
|---|---|---|
| Polished marble | Reflective, strongest colour contrast; lowest wet traction | Walls, backsplashes and low-spill counters. It highlights etching, scratches and uneven wear. |
| Honed marble | Low reflection, smoother matte feel; better traction than polished | Floors, bathrooms, stairs and vanity tops. It disguises scratches, but oil and water can leave dark patches. |
| Leathered marble | Soft texture with moderate sheen; improved grip | Kitchen counters, feature floors and bathrooms. Depressions can hold grease, dust and grout haze. |
| Brushed marble finish | A more tactile, aged surface with directional texture | Walls, floors and rustic interiors. Cleaning takes longer where dirt settles in the texture. |
| Sandblasted marble | Dull, granular surface with strong slip resistance | Exterior paving and wet zones, after confirming the stone tolerates processing. It is harder to clean. |
| Flamed finish | Rough, uneven texture; primarily used on granite | Do not assume it suits marble; heat can damage or discolour particular stones. |
Textured finishes trade easier cleaning for traction: grout haze and oily residue collect in their recesses. For outdoor Bengaluru use, ask for water absorption under ASTM C97/C97M, an intended-use recommendation and comparable installation evidence; marble can stain, weather and lose polish.
Approve a representative finished edge too, since a polished top with a honed, rounded or leathered edge can look mismatched under different light.
Verify the exact slab, treatment and edge before ordering
Before paying, make the supplier identify the exact slab, treatment, wet-use limits, support requirements and finished edge in writing. A small sample cannot show the full vein pattern, mineral patches, fissures or resin colour of a kitchen worktop.
1. Record the slab number, bundle number, quarry or origin, nominal thickness and actual measured thickness at several points. Approve photographs or inspect the full slab in daylight, then attach written approval to the order.
2. Ask whether the stone is mesh-backed marble, contains resin-filled marble fissures or has factory repairs. Confirm whether the treatment shows on the face, which adhesive is compatible, and whether cutting, polishing or later repairs require special handling.
3. For bathrooms, kitchens, balconies or exterior work, request the marble water absorption ASTM C97 test result, intended-use recommendation and examples of comparable wet or outdoor installations. Ask specifically about staining, weathering, polish loss and slipperiness when wet.
4. Confirm the substrate, adhesive, mechanical support and maximum unsupported overhang required for the selected thickness. Get the fabricator’s written limits for sink cut-outs, appliance clearances and any cantilever.
5. Approve a representative finished edge, not only the surface sample. Compare the top and edge under the project lighting, especially when a polished face meets a honed, leathered or rounded edge, or when a 20 mm slab receives a laminated edge.
Ask Nakoda Marble to place these details on the quotation and cutting approval, so the marble slab supplier checklist remains tied to the slab you actually receive.
Related product
 | Marble Marble Nakoda Marble is a trusted supplier of high-quality natural marble in Bangalore, offering a wide range of premium marble stones for residential,... |
Frequently asked questions
How do you match marble slab thickness to the surface?
Choose thickness based on support, span and impact. A 20 mm slab suits many fully supported interior surfaces, while 30 mm adds weight and edge strength for longer spans, exposed edges and repeated impact.
Why should you check finished thickness before fabrication?
Fabrication can change the final thickness through polishing, levelling, edge shaping and cut-outs. Confirm the finished measurement for the visible surface, stair tread, countertop or wall panel before approving the work.
How many marble slabs do you need for a project?
Use the layout and cutting plan rather than floor area alone. Account for slab dimensions, grain direction, joints, openings, edge returns and usable waste before ordering.
Which marble finish should you choose?
Choose based on traction, maintenance and appearance. Polished marble gives a reflective surface, honed marble reduces sheen, and textured finishes provide more grip where wet or slippery conditions matter.