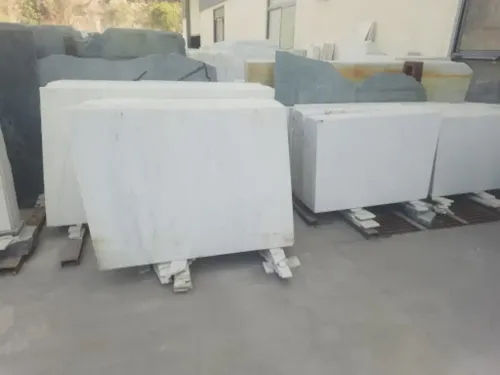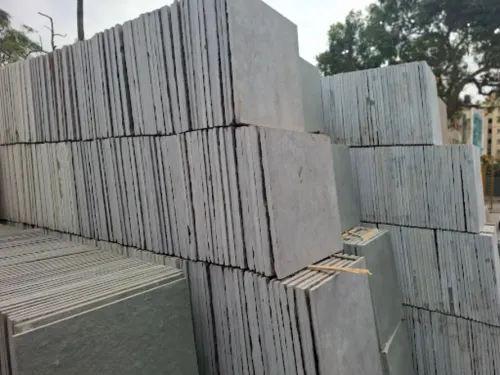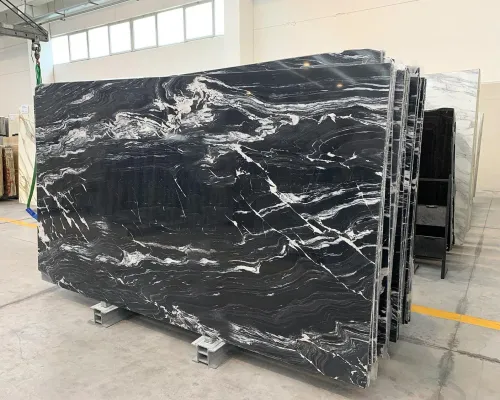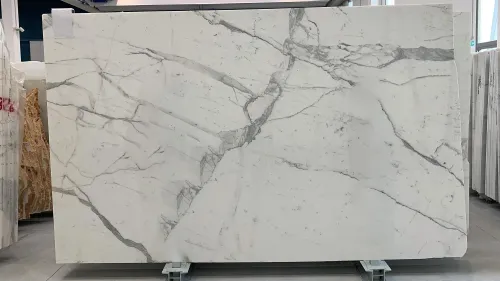
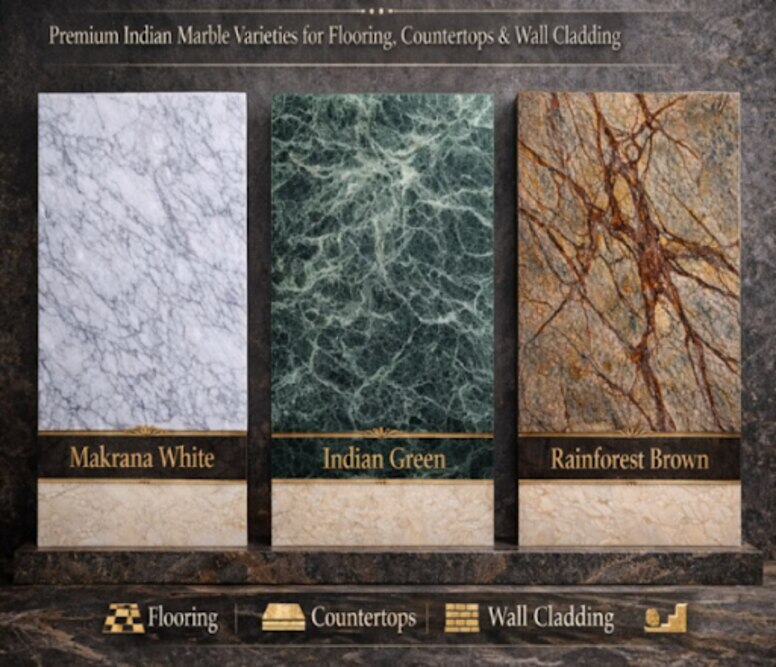
A marble colour name does not tell you how a full slab will look under daylight, warm lamps or installed lighting. By comparing complete slabs, pattern direction, finish and application demands together, you can approve a stone that works visually and technically before fabrication begins.
Key takeaways
- View three full slabs from the same lot before choosing a colour.
- Check veining direction and slab continuity against your layout.
- Match the finish and stone properties to the surface application.
- Inspect documents, batch details and the slab before approving cutting.
Compare Marble Colours Under the Lighting You Will Actually Use
View at least three full slabs from the same lot before making a marble colour comparison. A small chip hides changes in background tone, veining colour, mineral marks, clouding, patches and filled fissures; a showroom spotlight can make one area look brighter than the room where it will be installed.
Use the same sample condition and viewing distance for every option:
- Compare white marble, beige marble and grey marble side by side, then record whether each slab looks uniform, moderately varied or highly varied.
- Inspect the slabs dry, then lightly wet matching areas with clean water. Water deepens colour and exposes veins, fissures and uneven absorption, so never compare one dry slab with another wet slab.
- View the same finish planned for the project. Polished marble reflects more light and increases contrast; honed or brushed marble reduces reflection and can appear softer or darker.
- Check the full slab for open areas, dark patches, concentrated veining and abrupt colour changes, not just the most attractive section.
| Lighting condition | What to compare | What can mislead you |
|---|---|---|
| Daylight near the installation | Base tone, veining and patches | A spotlight can exaggerate brightness |
| Warm artificial light | Yellow or brown shifts in white, beige and grey marble | Cool showroom lamps can hide them |
| Installed room lighting | Reflection, finish and perceived darkness | A loose sample cannot show wall or ceiling bounce |
Lay the chosen slabs in sequence on the floor and view them from the room entrance, worktop height and seating height. Approve the selection only after it still looks suitable under the project’s actual lights.
Read Vein Direction, Movement and Slab-to-Slab Continuity
Two adjoining slabs look coordinated only when their background tone, vein direction, movement scale and vein colour sit within the same visual range. Compare full slabs, not a corner: note cloudy patches, mineral marks, open areas, fissures and whether movement runs diagonally, vertically or horizontally.
A small sample can match in colour while the marble slab pattern changes dramatically.
| Pattern choice | Visible result | Check before approval |
|---|---|---|
| Cross-cut marble versus vein-cut marble | Cross-cut marble shows cloudy or floral movement; vein-cut marble shows longer, more linear bands. | Confirm the cutting direction and decide whether the pattern suits the floor, wall or feature panel. |
| Sequential slabs from one block | Veins and background usually continue more naturally across adjoining pieces. | View consecutive slabs together, record their slab numbers and mark the installation order. |
| Bookmatching marble | One slab mirrors the next across a joint, creating a deliberate symmetrical image. | Confirm that the slabs were cut and laid out in sequence from a suitable block; similar colours alone cannot create a reliable mirror. |
Approve the layout only after seeing the actual slabs face-up in installation order. For a staircase, kitchen backsplash or reception desk, check where seams, corners and cut-outs will interrupt the movement; a strong diagonal vein can look intentional on a feature wall but appear broken across many small floor pieces.
Inspect the face, back and cut edges for resin-filled fissures, pits and factory filler. Filler can improve appearance without removing the underlying discontinuity, so ask how it will behave during cutting, polishing and service. Record the approved layout, lot or block details, finish, thickness and dimensions before fabrication.
Match the Stone and Finish to the Surface Application
For floors, walls, kitchens, bathrooms, stairs and high-traffic areas, choose the stone and finish for the surface before choosing its colour. Marble applications suit feature walls, floors and stairs, but the same slab is not automatically suitable for a worktop or wet area.
| Application | Compare | Finish and decision |
|---|---|---|
| Floors | Marble for veining; granite for tougher abrasion resistance; Kota stone flooring for economical, naturally cleft or honed surfaces | Use honed or textured finishes where traction matters. Check abrasion, porosity, bedding and edge treatment. |
| Walls and feature panels | Marble for colour and movement; granite, slate or sandstone for stronger texture and lower visual delicacy | Check slab weight, fixing method, moisture exposure and whether open areas or mineral marks will show. |
| Kitchens and reception counters | marble versus granite for acid resistance, staining, scratching, heat, edge damage and seam visibility | Marble can etch from lemon, vinegar and acidic cleaners even after sealing. Choose granite or another acid-resistant stone when maintenance must stay low. |
| Bathrooms and stairs | Marble for coordinated veining; granite or textured stone for demanding edges and treads | A polished marble wet floor is a poor default because water reduces traction and highlights marks. Specify a honed or textured finish and verify slip resistance. |
| Entrances and high-traffic zones | Granite, dense limestone or other durable stone against polished marble | Prioritise abrasion resistance, impact tolerance and cleanability over showroom gloss. |
Polishing increases reflection and contrast; honing or brushing makes colour softer and can hide minor wear. Compare finish samples under the installed lighting, then confirm sealing, cleaning and maintenance requirements before approval.
Use the Supplier’s Showroom and Sampling Process as a Comparison Tool
Approval should happen against the actual slabs and proposed layout, not a showroom chip. An Indian marble supplier should move you from a colour shortlist to a documented selection by controlling the viewing conditions, showing several slabs, and recording exactly what you approved.
1. Ask to see consecutive slabs from the same lot, with slab numbers visible. Compare background tone, veining colour, clouding, mineral marks, filled fissures, open areas and overall variation. A “white” or “beige” label does not guarantee consistency.
2. Arrange marble samples at project site and examine them dry and wet under daylight, warm artificial light and the installed lighting. Water can deepen colour and expose veins or uneven absorption, so compare every option in the same condition.
3. Request a full slab inspection before fabrication. Check the cutting direction: cross-cut stone usually shows cloudy movement, while vein-cut stone creates linear bands. Decide whether adjacent slabs need continuity, bookmatching or a deliberately varied arrangement.
4. Approve the finish and application together. Polished surfaces increase reflection and contrast; honed or brushed surfaces can look softer or darker. Review the intended finish on a sample before using it for floors, walls, stairs, backsplashes or reception counters.
At Nakoda Marble, ask the team to mark the selected slab numbers, lot details, thickness, finish, dimensions and approved layout on your quotation or layout drawing. This record helps prevent matching marble lots, replacement pieces or cut panels from drifting outside the visual range you accepted.
A visual match does not prove stain resistance or strength; request comparable test data for performance decisions.
Related product
 | Marble Marble Nakoda Marble is a trusted supplier of high-quality natural marble in Bangalore, offering a wide range of premium marble stones for residential,... |
Ask for Documents and Inspect the Slab Before You Approve Cutting
Before accepting a selection, request a written record that identifies the exact slabs and the conditions under which replacements must match. This marble supplier checklist should cover appearance, performance and supply continuity, not just the showroom finish.
- Slab numbers, quarry or lot information, cutting direction, finish, dimensions and marble slab thickness
- Approved photographs or a numbered layout showing vein direction, adjoining slabs and any bookmatched sequence
- Marble test reports, including ASTM C97/C97M for absorption and bulk specific gravity, ASTM C170/C170M for compressive strength, and ASTM C241/C241M for abrasion resistance where relevant
- Available reserve pieces, expected replacement quantity and the acceptable colour range for future orders
Inspect the actual slab before authorising cutting. Check the face for patches, open areas, mineral marks, filled pits and colour shifts; turn it over to inspect the back, then examine cut edges for hidden cracks or voids.
Ask specifically whether resin-filled marble fissures or factory fillers are present. Confirm how the filler is expected to behave during cutting, polishing, wet use and later repairs; a smooth face does not prove that the underlying discontinuity has disappeared.
| Check | What to verify | Why it matters |
|---|---|---|
| Appearance | Background tone, veining colour and movement | Prevents a replacement from falling outside the approved visual range |
| Physical condition | Cracks, pits, resin, edge damage and warping | Avoids cutting loss and unexpected repairs |
| Supply record | Lot, slab numbers and consecutive availability | Supports a coordinated future replacement |
| Application data | Absorption, strength and abrasion results | Separates performance evidence from appearance alone |
Frequently asked questions
How should you compare marble colours for a room?
View at least three full slabs from the same lot under lighting that matches the installation room. Compare background tone, vein colour, clouding, mineral marks, patches and filled fissures instead of relying on a small chip or showroom spotlight.
What should you check in marble veining and patterns?
Check the direction, density and movement of the veins across each slab. Lay out slabs in installation order and confirm that the pattern, bookmatching and slab-to-slab continuity suit the floor, wall, countertop or staircase design.
How do you match marble to its application?
Choose the stone and finish according to the surface use. Compare slip resistance, stain exposure, scratching, maintenance, edge treatment and expected traffic before selecting polished, honed or another finish.
What should you inspect before approving marble cutting?
Ask for the available stone documents and lot or batch details, then inspect every slab for cracks, filled fissures, patches, pits, resin repairs, thickness variation and edge damage. Mark the cutting layout only after the slab and orientation are approved.